I've been so busy these past few days and left my blog with no weekly posts. What keeps me are the United Nations costumes for my kids. This time I want to sew them myself. First pair is for my son who will be representing the country of Thailand!

Assuming all your sewing necessity is already within reach, get the fabric, leave its original fold as it is and lay it flat on the surface. I don't have an official workstation yet (or I'm not sure if I can really have one coz we're short on both budget and place hahaha) so I just spread the fabric down on our dining table. Next, is lay your model shirt over the fabric to sew.

Trace the model shirt on the fabric. Make an inch allowance for the seams. The upper costume will be sleeveless so I remove the shirt and make a curve side. Ahm, I don't have a french curve ruler, but I have a plate hahaha, so I made use of it.

Pin the fabric so when you cut the tracings, the other side of the fold won't move and keep the fabric aligned. Find the center of the shirt, mark the neckline and front opening. It will be cut in the front as this shirt is bolero style.

Then sew.

This is the partial look of the bolero shirt. I chose satin fabric to make my son glow while wearing it.

I added some embellishments on the bolero shirt costume. It's up to you what to put. I sew the embellishments on, not just glue, to make the costume last long after wash and wear as I'm renting this Thailand costume to whoever wants to rent.

Now, let's proceed to the trousers for the Thailand costume. My daughter is eating at this time so I lay down the satin fabric, still on its original fold, on our living room floor. Lay a model pant (folded sideways where the crotch points) over the fabric and trace leaving some allowance for the seams. I folded the height of the model pants coz I want the trousers to be close at knee level only.

Flip the pants over to the other side and trace again. Make sure the crotch point is aligned with the other side.

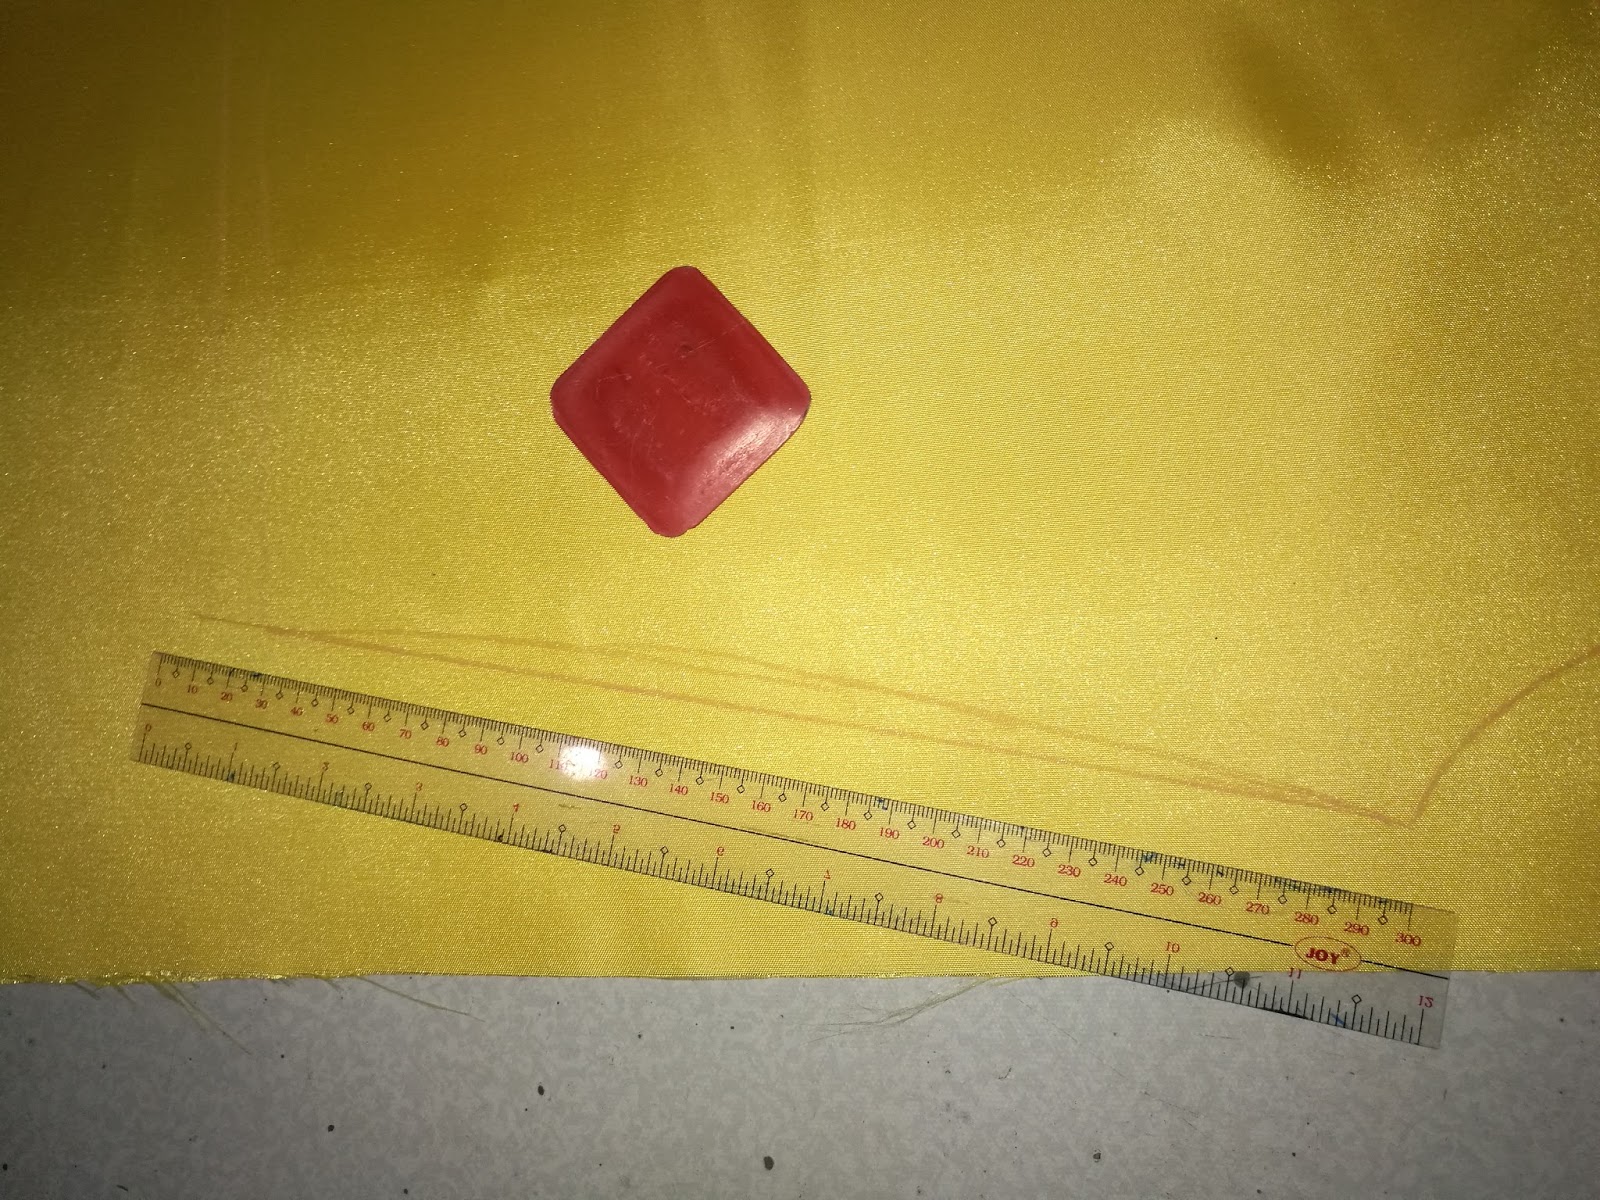
Use ruler for straighter markings.
Pin the fabric so both pieces are aligned when cutting.
* Tip: Put a heavy thing in the middle to keep the fabric from moving when pinning and cutting.

Next, cut the fabric following your markings but make an inch of seam allowance.

Sew the fabric until to the crotch point only on both sides. Do not sew the upper part.

After sewing the fabric together, open it crosswise.

This should be the result after then lay it back on a surface. Replace the pins as in the picture shown.

Now, fold an inch at the upper part of the fabric for the waist band. Sew and insert an elastic with a safety pin.

Sew the hem of the pants as well.

This is the partial look as embellishments will be added. Sew, not glue, to make them sturdy and last long after several wash and wear.

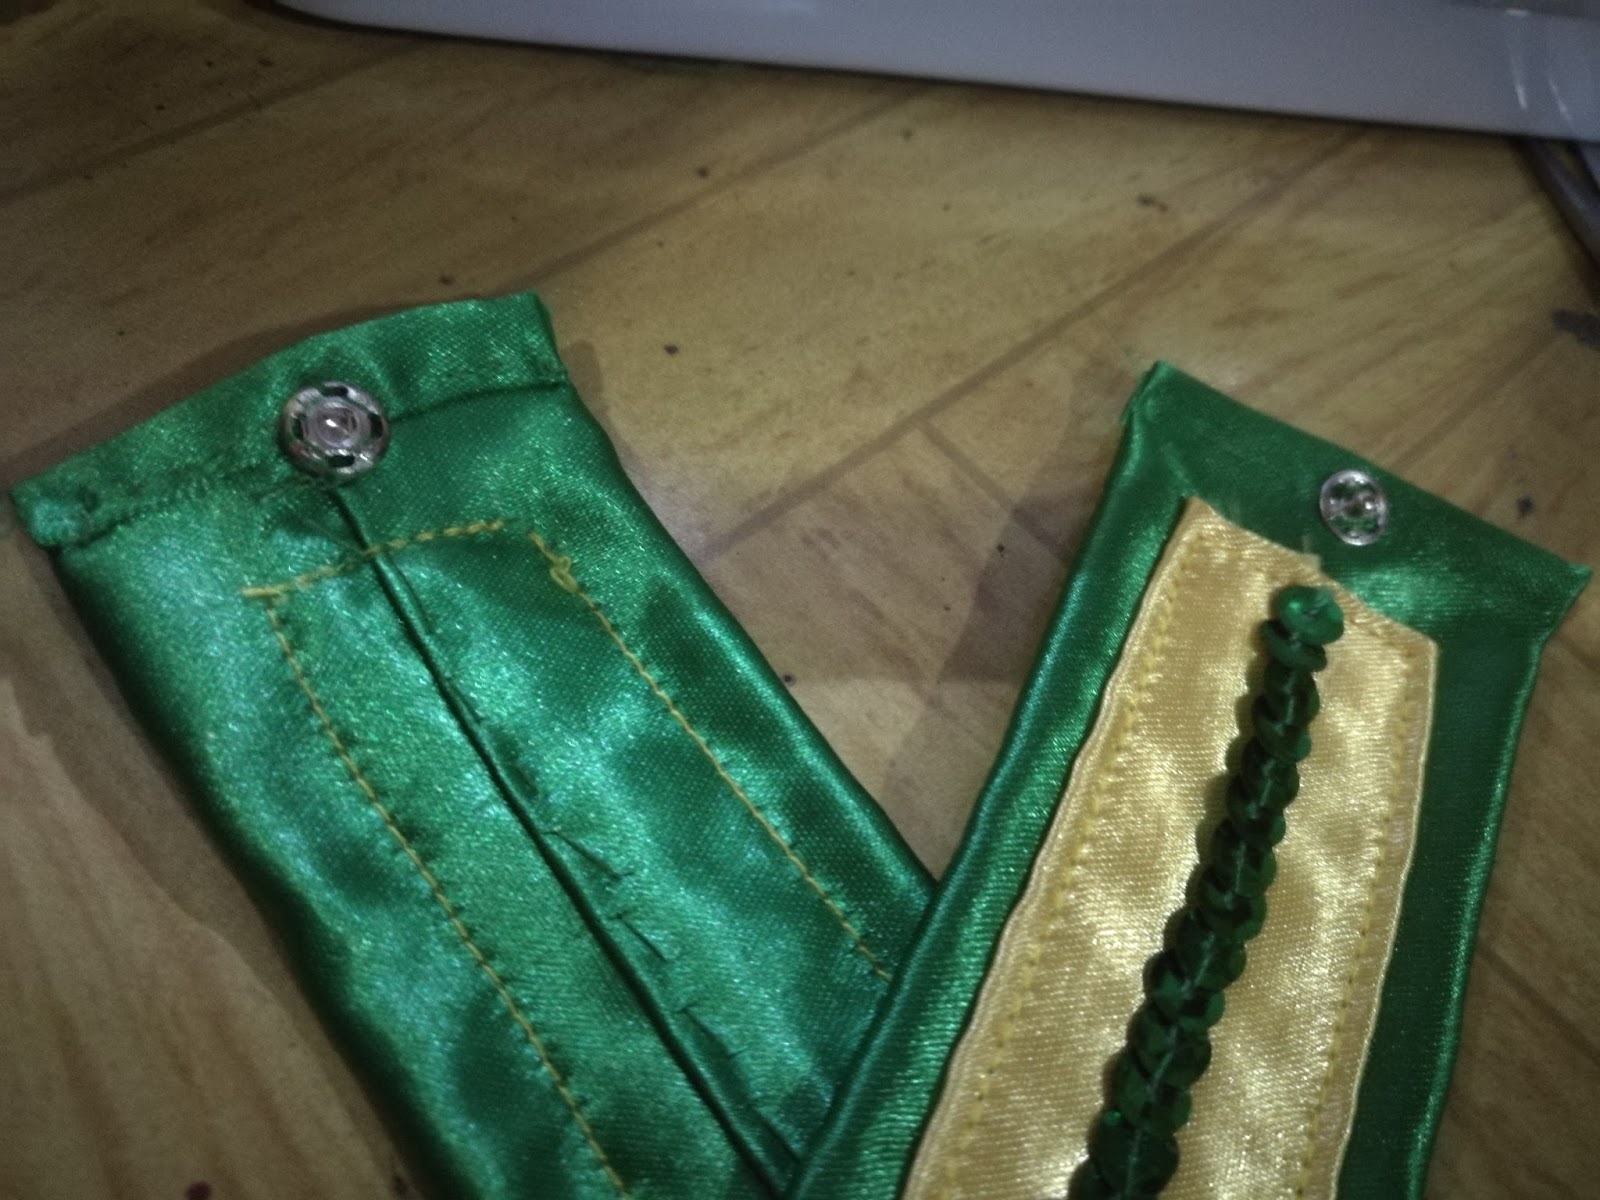
For accessories, here's for the arms.

Attach a snap on both ends so it will hold when wrapped around the arm.
Finally, taaadaa...Here's the accomplished DIY: UNO Costume for Boys - Thailand.
I will update this post later after their UNO Celebration at school and put my son's photo wearing the Thailand Costume and headdress (to be posted soon). See you again!
No comments:
Post a Comment